
First 10-minute goals
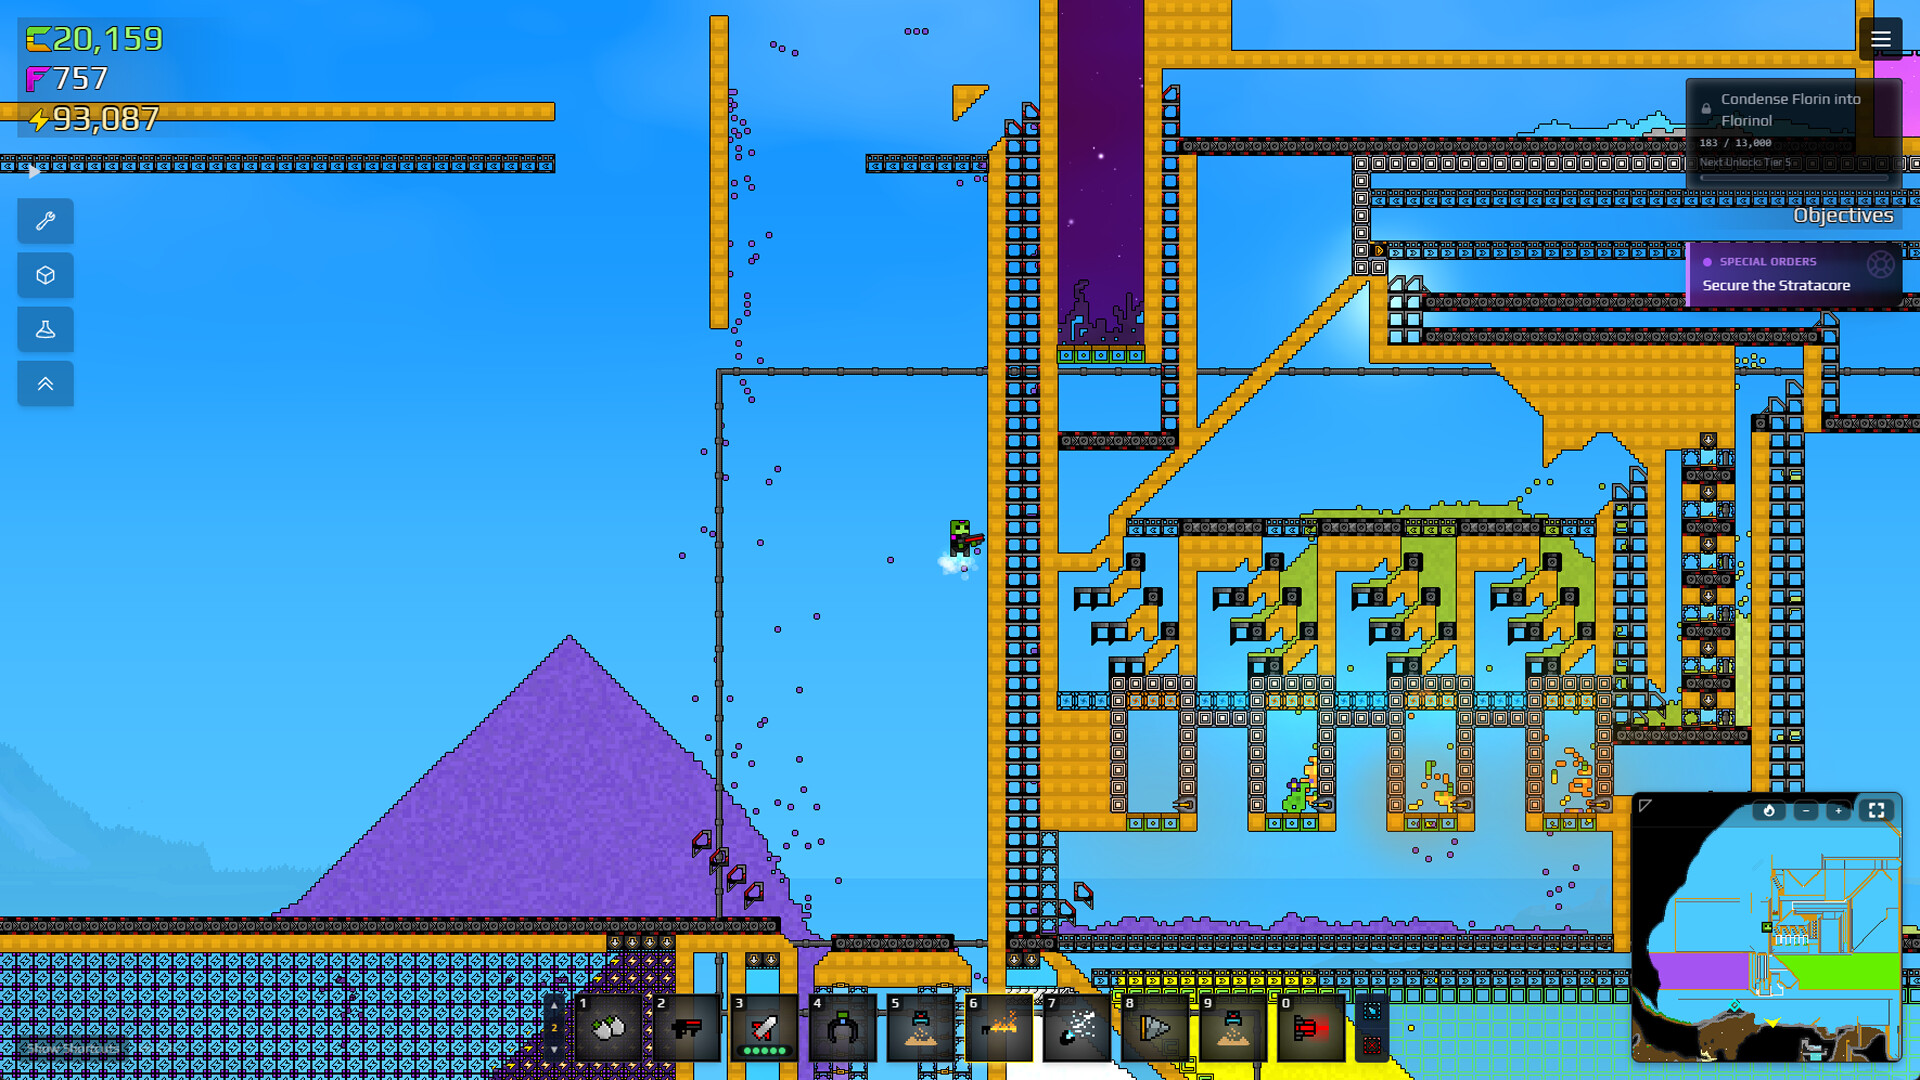
Sandustry combines digging, pixel physics, factory automation and exploration. The safest beginning is therefore not a rigid speedrun order. It is a short sequence of observable goals that teaches how one material becomes the next without hiding failures inside a large factory.
Your first session should establish four things:
- A small working area where falling materials remain visible.
- One confirmed path from Sand and Water to Wet Sand.
- One Shaker output area where Gold and Burnt Residue can be observed separately.
- Enough empty space above and below later machines to see where material enters, rests and exits.
Do not begin by filling the screen with copied structures. Build one stage, watch what reaches it, and identify every output before adding transport. A compact test line is easier to repair than a wide factory whose branches all fail for different reasons.
Beginner success markers
- Material
- You can name the input and output of the active stage
- Visibility
- You can see where material waits or escapes
- Isolation
- One stopped stage does not hide every other stage
- Rates
- Use exact numbers only when they match the game version you are playing
The official product description frames Sandustry around digging, physical materials, automation and exploration. That combination rewards observation: materials can pile up, mix, fall, block another material or miss a receiving area. When something stops, treat its physical state as evidence rather than immediately rebuilding the whole line.
Early Access boundary: this guide uses dated official product, FAQ and Wiki sources. It deliberately avoids production-rate targets and “best” layouts that have not been reproduced against a confirmed current version.
Build the first Gold loop
The first dependable material chain begins with a confirmed interaction: Water combines with Sand to form Wet Sand. From there, the official machine entries establish the relationship between the Shaker and Kinetic Press.
- 01Sand + Water → Wet Sand
- 02Shaker → Gold + Burnt Residue
- 03Kinetic Press → Gold + Seed
- 04Water + Seed → Wet Seed
- 05Planter Box → Flower
Work through that diagram from left to right.
Make Wet Sand in a visible place
Use a small amount of Sand and Water first. The objective is to recognize Wet Sand and keep it from immediately joining unrelated material. If a large natural Water pool is part of the test, do not assume it is renewable; the dedicated Water guide separates natural sources from the slower renewable route.
Feed the Shaker without hiding its outputs
The Shaker processes Wet Sand and separates Burnt Residue and Gold. That statement defines the relationship, but it does not justify a universal throughput number. Give the Shaker enough open space to observe which material remains near the top and which material leaves the processing area. If the input pile contains something other than the material you expected, remove it before scaling.
Treat Burnt Residue as the next input
The Kinetic Press processes Burnt Residue and produces Gold and Seed. Keep the Shaker output and Press input close enough to follow, but not so tightly packed that you cannot inspect a blockage. If material rests on the Press, the correct response is diagnosis: confirm the material, its approach and whether the output area is clear. Use the dedicated Kinetic Press guide for input placement, material left on top and output separation.
At this stage, success means you can point to the input and output of each machine. It does not mean the line is optimized.
Add the minimum Water network
Water production and Water transport are separate questions. Before building a shared network, prove the smallest source-to-outlet path.
- 01Water touches Pump grid
- 02Pump connects to Pipe
- 03Pipe reaches Liquid Vent
- 04Vent outlet stays clear
- 05Water reaches the target area
Place the Pump so liquid pixels touch its grid. The current official Pump source says greater immersion can increase flow, but exact rates remain version sensitive. A partially connected Pump is still useful as a diagnostic test: if it moves nothing, inspect physical contact before adding more machines.
Connect a continuous Pipe route to one Liquid Vent. Multiple Pumps and Vents on a connected network share inputs and outputs, which is useful later but makes the first test harder to understand. Start with one input and one outlet. The Vent releases liquid from its central area and stops when the space above the outlet is blocked, so leave that area visible.
Pipes may overlap structures and can carry mixed liquids, but they cannot carry Lava. “Can carry mixed liquids” is not a recommendation to combine every liquid. Separate networks are easier to diagnose while learning.
Use the Water system guide for sources and production uses. If the network exists but flow has stopped, move directly to the Pump and Pipe troubleshooting guide.
Grow the first Flower
The confirmed plant relationship begins after the Kinetic Press produces Seed. Water combines with Seed to form Wet Seed, and Wet Seed placed in a Planter Box can grow into a Flower.
Keep this first plant test deliberately manual:
- Separate Seed from the other Press output so you can see how much reaches the plant area.
- Wet a small amount of Seed without flooding unrelated transport.
- Place Wet Seed in a Planter Box.
- Leave the growth and output area visible until a Flower is confirmed.
This page does not promise an automated Flower farm or a best layout because exact spacing and timing still need a current-version test. The Plants and Flowers guide explains the full Seed, Wet Seed, Planter Box and Flower chain, including how to add heat one step at a time.
If nothing grows, diagnose the state transitions in order: Was Seed produced? Did Water actually contact it? Did Wet Seed reach the Planter Box? Is the resulting Flower area being disturbed by an unrelated process? That sequence is more useful than copying a larger design before the basic relationship works.
Route materials without hiding failures
Current Official Wiki entries now corroborate the basic logistics roles that were previously available only through a Guide carrying an availability warning. Conveyor Belts move solid pixels in their travel direction. Launchers move solid pixels upward, and an angled top can send them to a side.
That creates a simple choice:
- Use a Conveyor Belt when a solid material should travel along a visible surface toward the next stage.
- Use a Launcher when the route must gain height or leave the top of a launcher column toward one side.
- Keep outputs separate until you know whether a downstream machine accepts both.
- Leave a recovery area where a wrong material can be removed without dismantling the full chain.
Conveyor behavior is physical. If the pixel touching the belt cannot move forward, material behind it can also wait. A taller pile does not guarantee that the belt can push past an obstruction. Launcher transport also depends on where material enters and where the upper output sends it. Build short, observable segments before turning either system into a long backbone.
The Material Scanner is not covered here because its current behavior has not been verified from an official mechanic source. Check its in-game description instead of relying on a guessed explanation.
Save and reuse a working section
Blueprints are useful only after a section has worked. The official FAQ documents a copy-and-save flow, text import and export, and a flip shortcut. The observed default controls are C to begin copying and Ctrl+H to flip a blueprint.
Use the feature in this order:
- Run the source section until its inputs and outputs are visibly correct.
- Use the current copy control and select only the section you understand.
- Save the blueprint with a task-based name such as “single Pump to single Vent,” not a vague name such as “water base.”
- Import or export the text string only after confirming which version produced it.
- When flipping a layout, recheck directional outputs and the space needed above falling-material machines.
Key bindings can be changed or rebound, so the control names are version sensitive. A blueprint preserves positions; it does not preserve terrain, available materials, liquid levels or the reasoning behind the original layout.
Quick & Easy SANDUSTRY Beginner Guide – How To Get Started
Optional visual orientation. Follow the dated steps and the behavior in your current game when the video differs.
Fix the common early stalls
Trace a stopped beginner factory
- 1Name the missing output
- 2Inspect the destination for a blockage
- 3Follow the route backward to the producing machine
- 4Confirm the actual input material
- 5Separate mixed outputs
- 6Reduce the system to one working stage
- 7Reconnect one branch at a time
The Shaker produces material but the next stage does not
Confirm which output is intended for the next machine. Gold and Burnt Residue have different downstream roles. If both enter one congested path, separating them is a clearer first repair than increasing the size of the factory.
The Kinetic Press has material resting on it
Do not assume that any dark material is valid input. Confirm that it came from the intended Shaker output and that no unrelated pixel occupies the receiving area. Then use the Kinetic Press guide to check the current minimum input, height and output clearance.
The Pump moves no Water
Check liquid contact with the Pump grid, then Pipe continuity, then the Liquid Vent outlet. If the network has multiple branches, isolate a single Pump and single Vent before changing the rest of the factory.
A line keeps mixing outputs
Create separate destinations before extending transport. The shortest working route is the one whose material state you can explain at every point, not necessarily the route with the fewest structures.
The copied layout fails in a new place
Compare terrain, input direction, output clearance and liquid contact. A copied arrangement is not proof that the surrounding physical conditions match.
What to build next
Choose the next guide from the failure you can actually observe:
- Open Water and Pipes when you need to understand sources, outlets or the relationship between the Water pages.
- Open Renewable Water when a finite source is the problem and you are ready to test the slow Snow-to-Steam route.
- Open Pumps, Pipes and Water Transport when a built network stops moving liquid.
- Open Game Info for platform, Early Access and save-file facts.
Leave Tier 5, Anomalies and deep exploration until the first factory is stable. This guide does not cover them because the current sources do not yet support a dependable task route.
Beginner FAQ
Why is my Kinetic Press not working?
First verify that the material reaching it is Burnt Residue from the intended production path, then inspect the receiving and output areas for unrelated material. This guide does not give an optimal feed rate or universal placement because neither has been reproduced against a named current version.
Why is my Pump not moving Water?
Confirm that liquid pixels touch the Pump grid. Then reduce the route to one Pump, continuous Pipe and one clear Liquid Vent. Shared branches and blocked Vent outlets broaden the failure area, so reconnect them only after the minimum route works.
How do I copy and flip a blueprint?
The observed official FAQ controls are C to start the copy flow and Ctrl+H to flip. Controls are version sensitive and may be rebound. Save a section only after it works, and recheck directional outputs after flipping.
Can Pipes move Lava?
No. Current official Pipe and Lava sources say normal Pipe and Pump networks do not transport Lava. Use a dedicated Lava transformation and solid-material route instead of resizing the Water network.